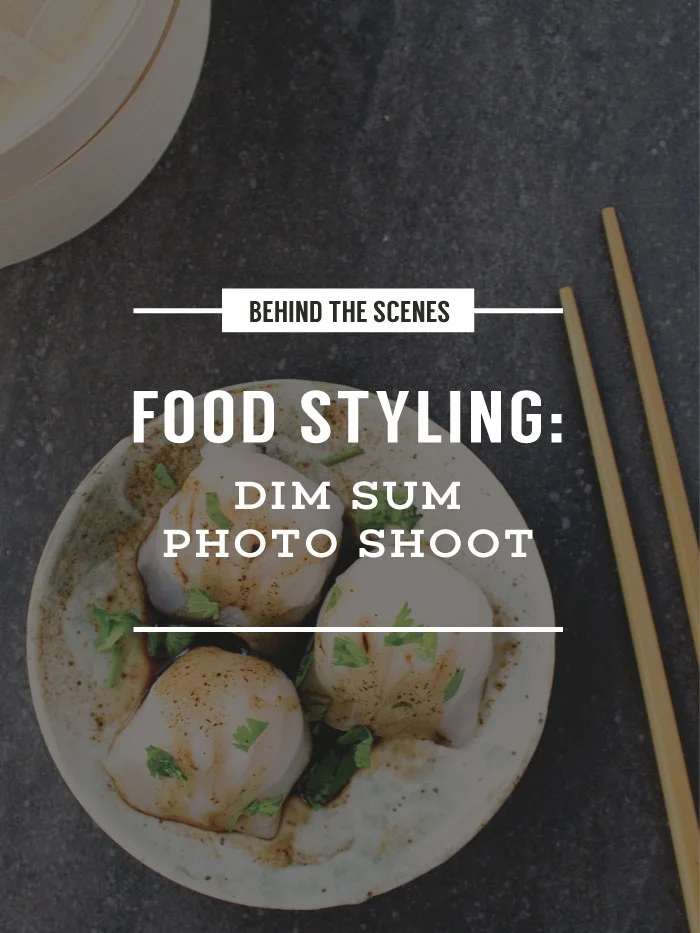

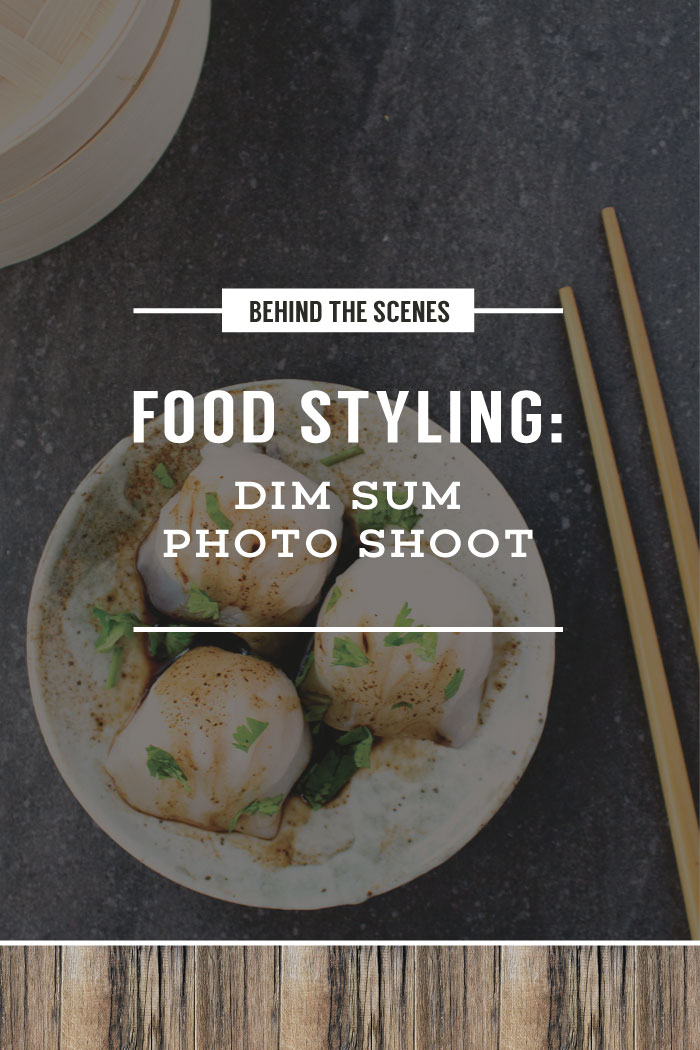
Food Styling A Dim Sum Photo Shoot (Behind The Scenes)
/
I'll be honest. I have a love-hate relationship with food styling. On the love hand, I love that food never moves which makes photographing it so much easier. I also love that food can be styled in a variety of ways. On the hate hand... oh man, I hate how you have to work quick with food. I hate how you have to get the food undercooked just right in order to be photographed well. I hate that it gets stale and cold really fast and you constantly have to perform certain tricks to get it looking hot and fresh.
But! (There's always a but...)
The end result of a photograph of a beautifully styled dish of mouthwatering, yummy food makes it all worth the end. A photo that immortalizes the tantalizing tastes and textures. Oh! That is the real joy of food styling.
Today, I want to take you behind the scenes of a product photography shoot I did for a client who owns a frozen dim sum shop. They are a small mom and pop company who has been catering to the Vancouver hotels and restaurants for many decades. Recently, they wanted to start a website and try to expand to a new market. With the new website in the works, they needed to showcase photos of their products.
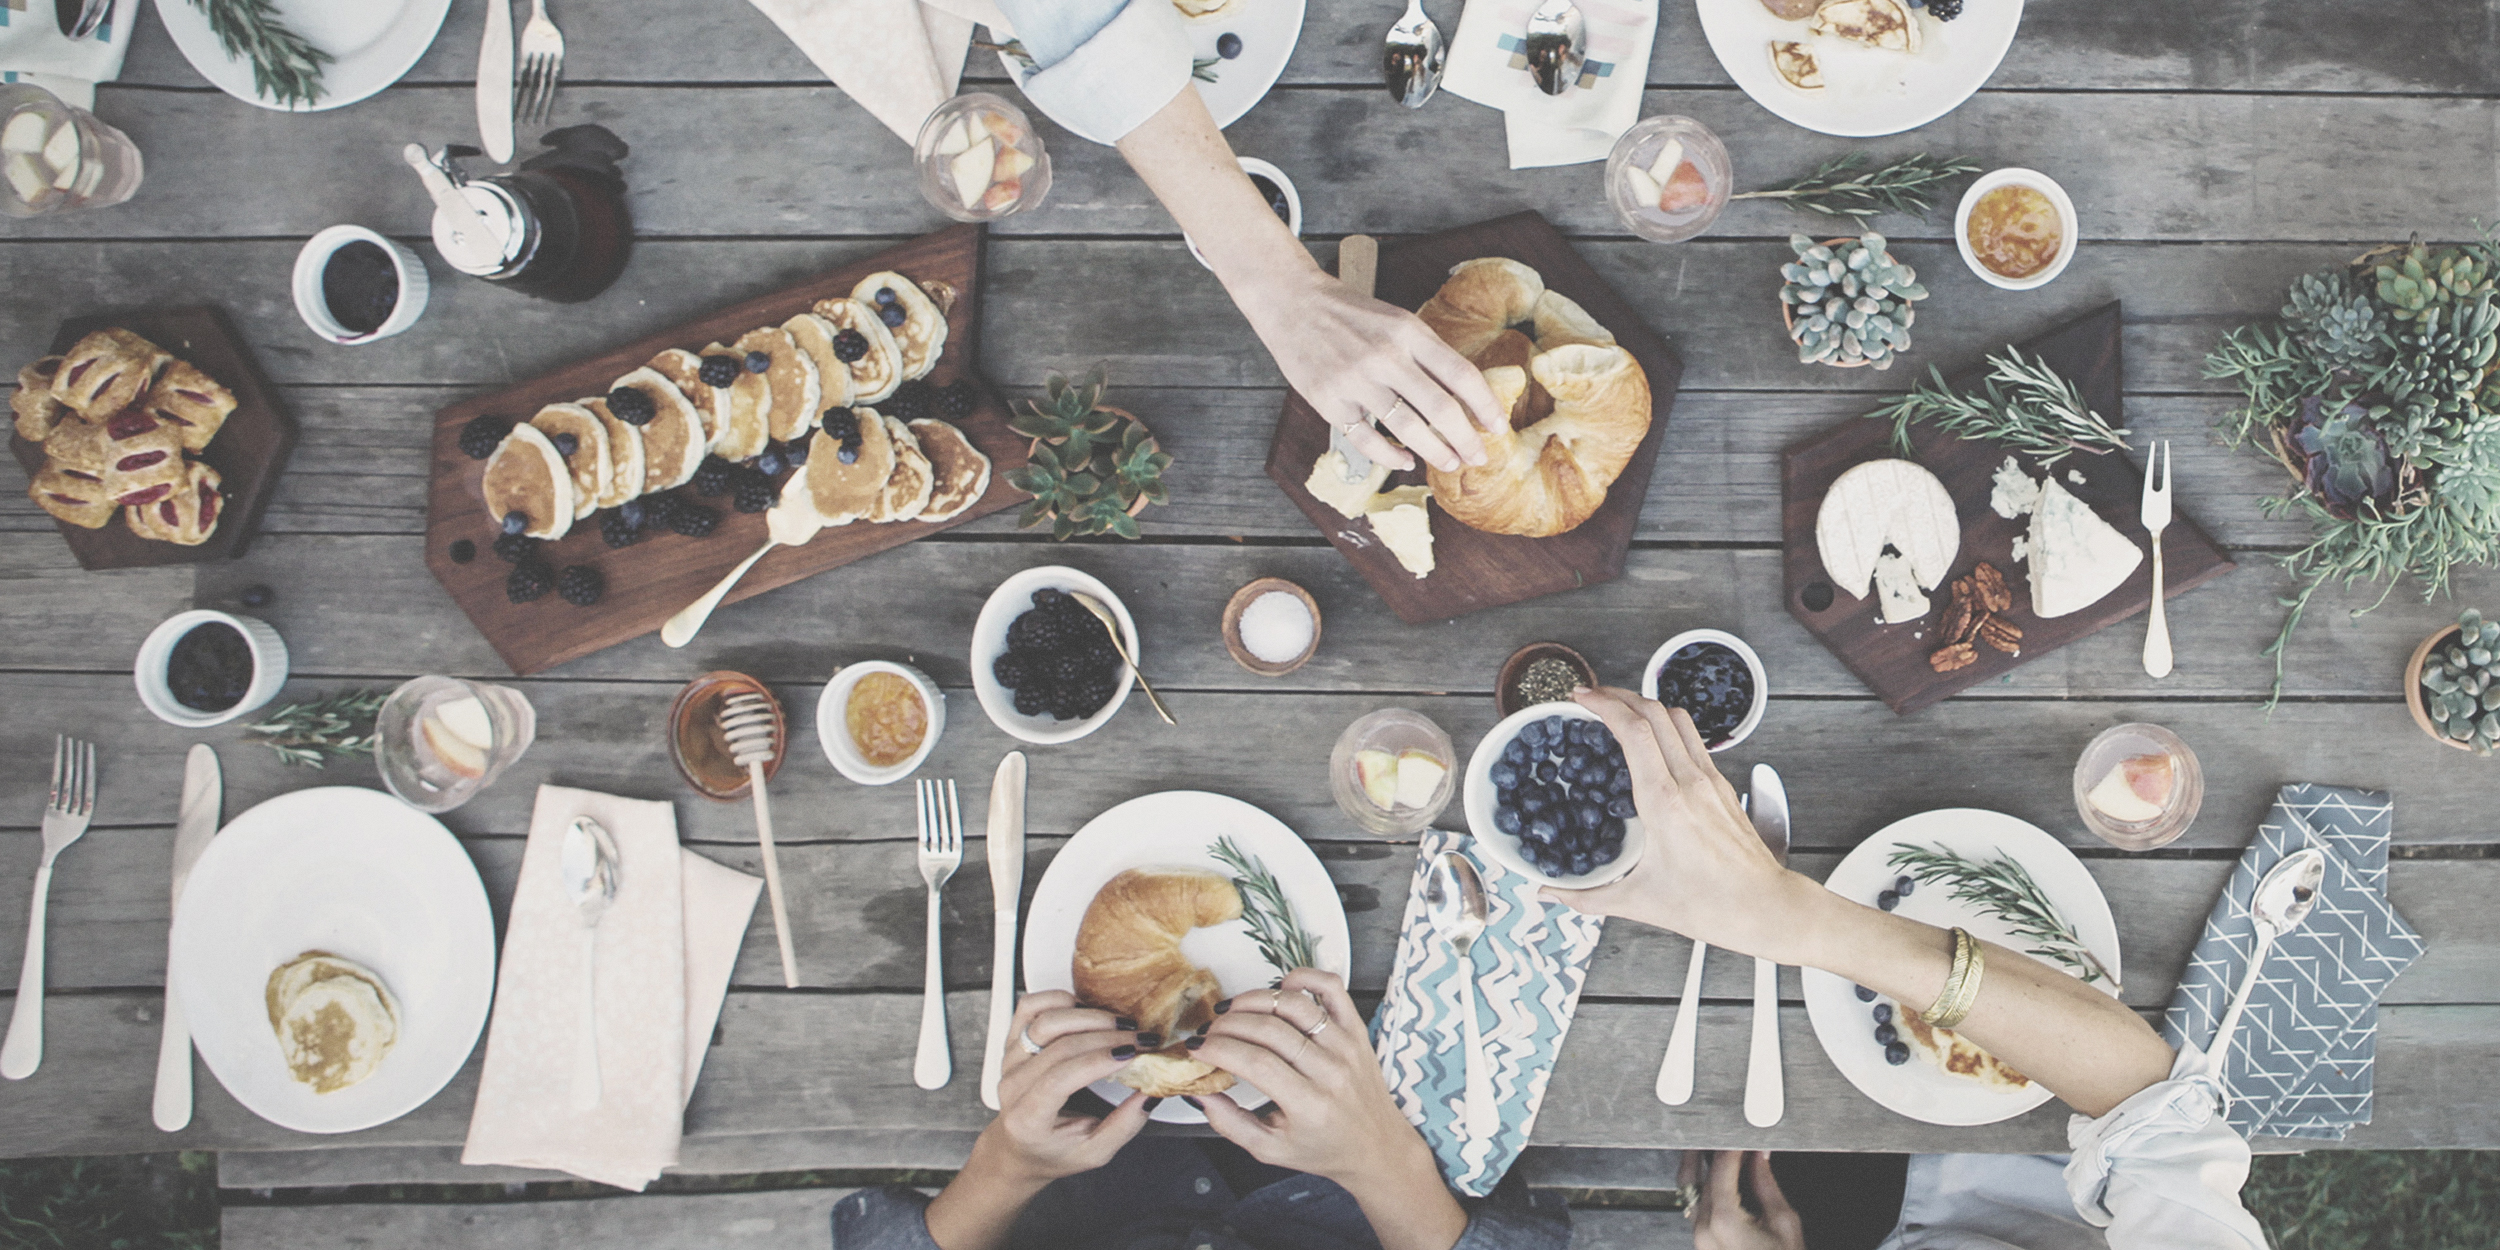
Their customer base has always been traditionally Chinese immigrated from China, Taiwan or Hong Kong. But my client was seeing a whole new demographic of Westerners as dim sum was gaining popularity on this side of the world. Their new website would cater more to the new customer so I styled the photos to have a balance of tradition and modernism. Call the style Asian fusion, if you will.
The process I share with you today will demonstrate my love-hate relationship with food styling. But I hope you will glean some styling tricks for yourself.
THE
STYLING PROCESS
The beauty of buying frozen dim sum is that you can have it any time you want. You get a bag at wholesale prices, take it home, keep in your freezer, steam a few on a lazy Sunday morning and 10-15 minutes later, eat them in your pajamas. Ultimate comfort food!
On this particular Sunday, I was staging mini meal scenes in my studio. I was chopping green onions and ginger to use as props. I was moving plates around, switching them up for ones with texture or without pattern; whichever made the photo look its best. When half the day on staging props was spent, I pulled the products out of the freezer and steamed them. Because that's what they were on this Sunday. They were products I was styling for my client. On another day, dim sum would be yummy comfort food. But not this day. This day, I had a job to do.
Here are the steps I took to photograph all the dim sum products:
1 | STAGE EVERYTHING FIRST.
Before you even think about photographing any food, you have to first style everything the way you want it to look. Why? Because food doesn't keep longer than a minute. That's right. Food starts to look awful on camera THAT fast. The steam dies off, the sauce glazes over, ice cream starts to melt, lettuce begins to wilt. You catch my drift.
2 | TEST SHOTS AND MORE TEST SHOTS
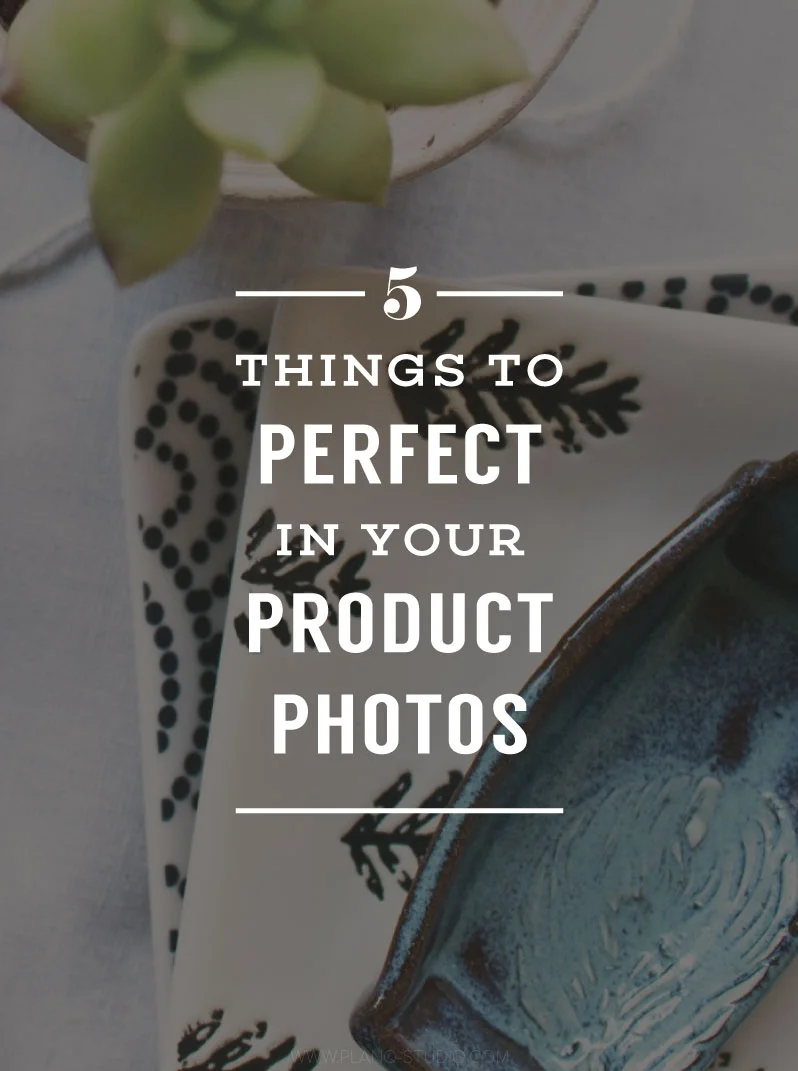
Once you've staged all the props, take test shots. This is a super crucial step. The camera sees things so differently from the human eye. We see a beautifully staged tablescape, but the camera sees a lack of contrast, glaring light that takes away the focus from the food, or (heaven forbid) a dirty napkin! Take infinite amounts of test shots to get the lighting right. Move props around so there's a natural flow. Get it all right before adding the food.
3 | KEEP INGREDIENTS FRESH
Dry ingredients used for props such as salt, flour, sugar, pepper can be left out without any problems. But what if you're using fresh herbs or microgreens? Man, those things will wilt faster than you can say wonton noodle soup. Try the following techniques to keep them fresh until they're ready for the limelight:
- Place bundles of herbs in a glass of water.
- Keep all fresh ingredients in a refrigerator (if available).
- Wrap fresh ingredients in wet paper towels and store in a Zip-loc bag until ready for use.
4 | ADD COOKED FOOD
And now you can add the food! I was a one-woman show when I did this photo shoot, so I had to be the chef on top of being the food stylist, prop stylist, and photographer. Someone give me money to hire an assistant, please!!!
Timing is so crucial when cooking food. I could only steam one or two products at a time in order to keep them as fresh as possible. I had to keep a careful eye on the cooking because the dumplings would melt if I kept them on the steaming trays a minute longer than I had to. For this reason, it was best to steam the dumplings a minute or two less than the instructions required, transfer them to the plates where they would sit for a minute and be picture perfect for the camera.
I spent this cooling off minute by dressing them with sauce and garnish.
5 | BRING BACK LIFE TO FOOD
Even after you've spent all that time in the beginning with staging props and doing infinite amounts of test shots, the truth is it may still take a little longer to get the shot you want after the food is plated. Any more than five minutes and the food becomes lifeless. So what do you do? Keep a spray bottle of water on hand and spray your food. Magic.
- Find out what other tools you need in Inside A Photo Stylist's Tool Kit.
PHOTO STYLING
BROKEN DOWN
And now to share with you some of the final images chosen for my client and why I styled them the way I did.
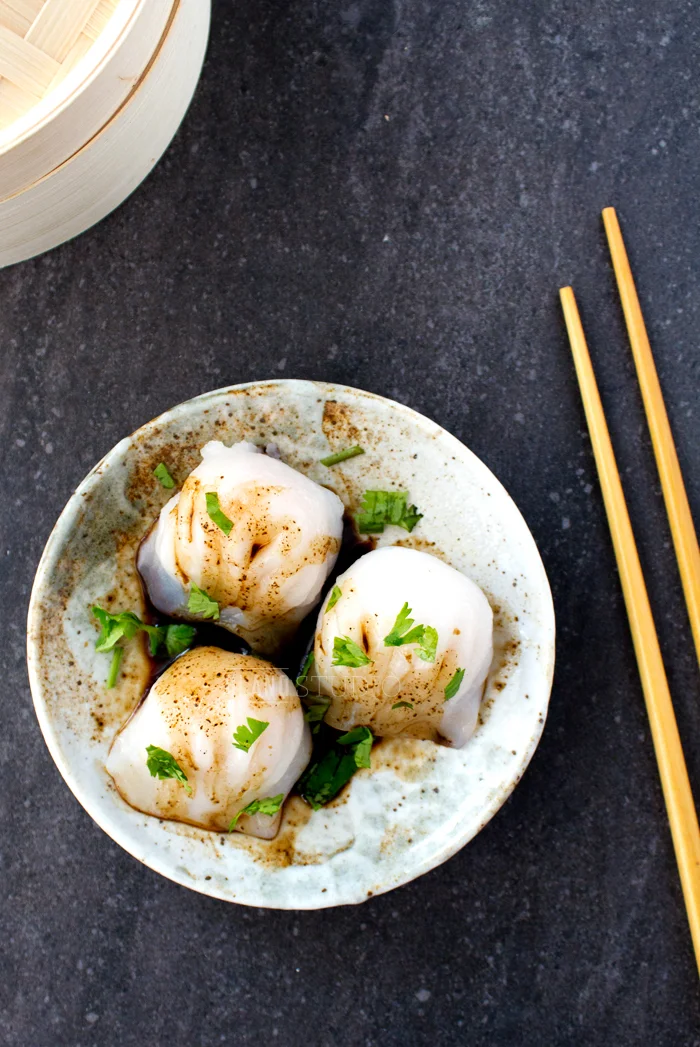
SHRIMP DUMPLINGS
I love the contrast of the white plate on the black background. However, the white dumplings practically disappeared on the white plate (even if the plate does have texture and a subtle pattern to it).
A drizzle of soy sauce highlighted the dumplings better, which also made the folds of the wrappers stand out more.
A sprinkle of cilantro was added to give a colorful dimension to an otherwise black and white photo.
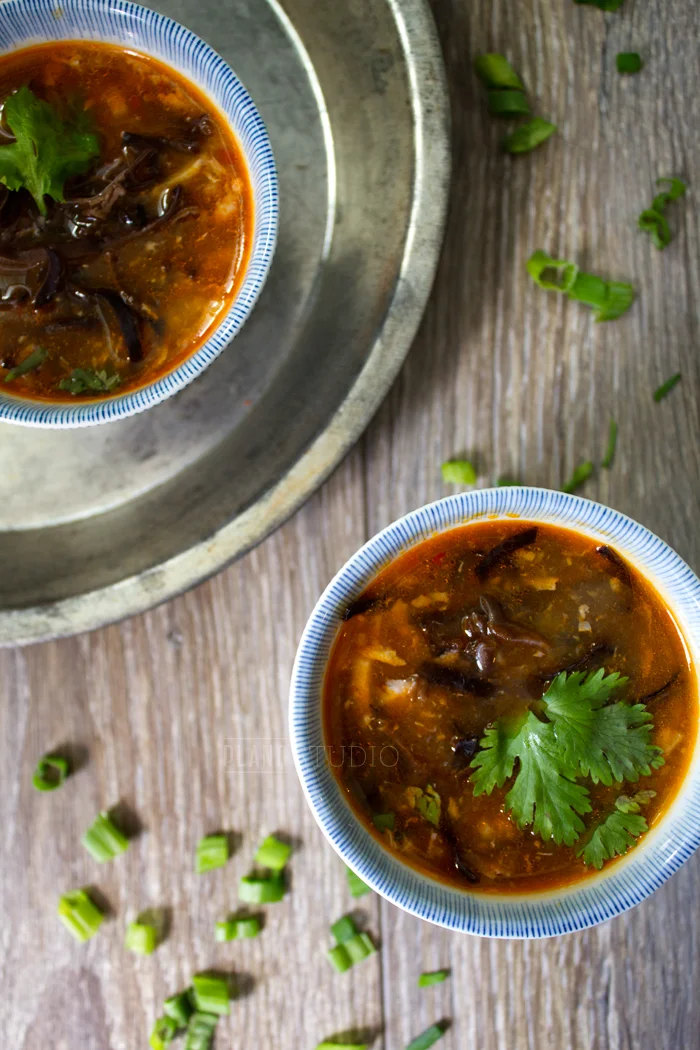
HOT AND SOUR SOUP
This was a really tricky product to style because all the main ingredients of the soup sank to the bottom. What I started with was a bowl of red liquid with nothing to entice the senses.
I pulled out the black fungus and tofu slivers from the bottom of the bowls. Just before clicking the camera, I floated the ingredients on top of the soup. It had to be done really fast! A few cilantro leaves gently placed on top of the soup brightened up the bowls.
Also, those bowls aren't soup bowls at all. They're Chinese tea cups.
- Get more prop ideas in Best Props For Food Photography.

WONTONS
As wontons are typically served in soups, they wouldn't have created a pretty picture floating in a bath of chicken stock. Instead, I chose to place a single wonton on a soup spoon with a scene of a soup meal in the background. Now the focus is on the wonton, which is the item we want to sell.
Here's a styling secret: the dark sauce in these photos is meant to look like soy sauce, but I actually styled them with black vinegar because it is a darker and thicker liquid which looked much better on camera. Would you have known the difference if I didn't tell you?
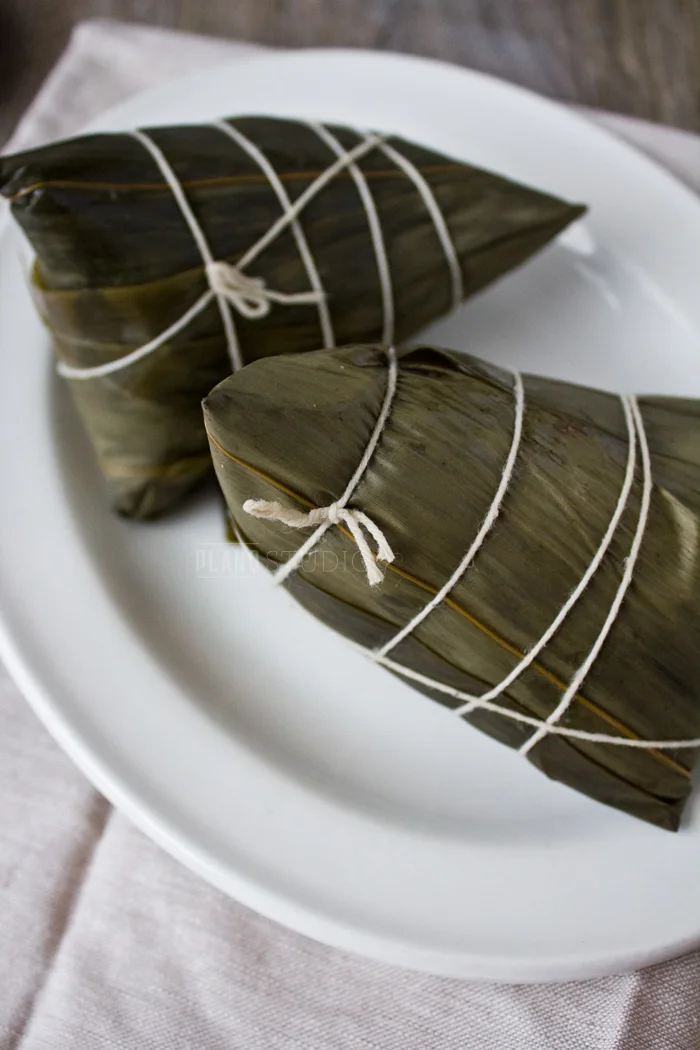
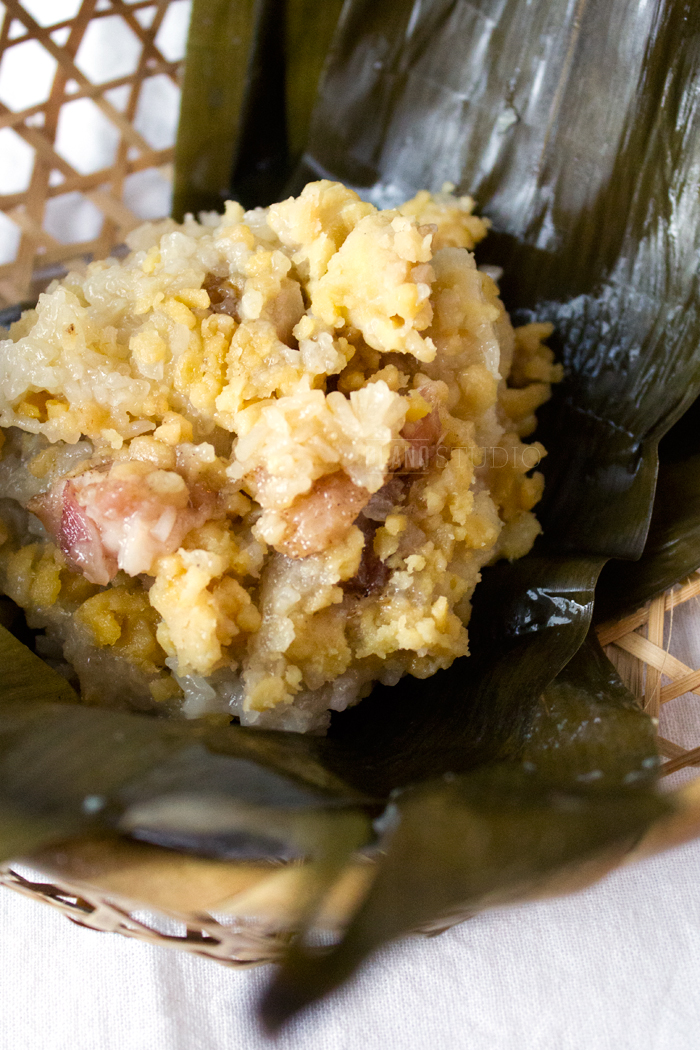
ZJONG-ZI (STICKY RICE WRAPS)
I gotta admit. This was a challenging product to style. The photo on top is what the wrap looks like when sold in stores. However, I just didn't think they highlighted what's most important about these wraps: the food inside.
Sure, a regular customer knows exactly what a zjong-zi is and would have no problem going to the shop to buy several of these to take home. But what about the new customer who has never heard of this product? That's who my client wanted to target.
So I thought outside the box (or the wrapper, hehe) and took the unconventional approach. I opened up the wrap and exposed the sticky rice.
As you see in the bottom photo, I basically scraped out all the rice inside the leaves, reshaped it into a lovely looking ball so the ingredients could be seen and placed it on top of the leaves. It was important to keep the leaves in the photo so the consumer could see this sticky rice was once wrapped up in them. It is called a sticky rice wrap, after all.
You can see more photos from this product photography shoot here.