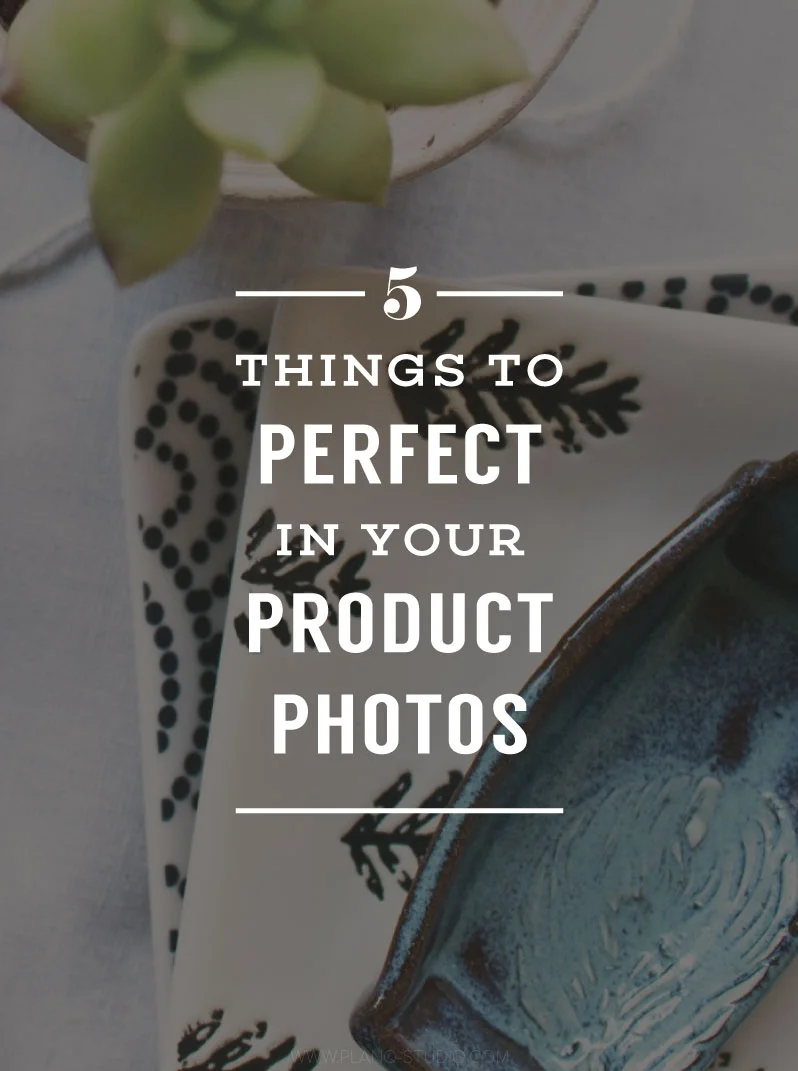
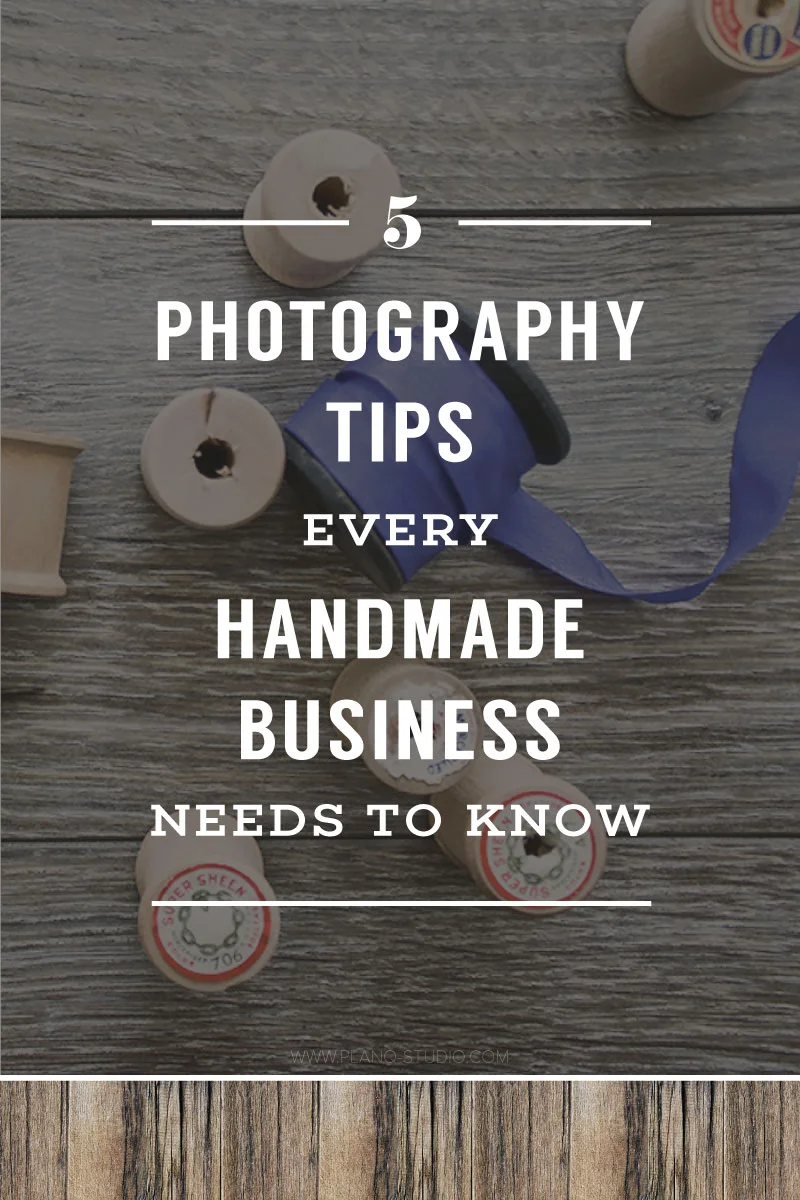
5 Photography Tips Every Handmade Business Needs To Know
/
When I started my first blog, many, many years ago, the market hadn't saturated itself yet. It was a time when people were shifting from personal blogs to making it their full-time business ventures. In those early days, we could get away with posting sh**ty photos alongside our mediocre content.
Once the shift happened, good photos were required of us to keep up with the change. No one was interested in looking at blurry, dark, too yellow photos anymore. Not when there were other blogs who were writing the same things and presenting them better.
Does this sound like your handmade business? Do you feel like your product photos aren't competing well in the handmade marketplace? Do you feel the need to step up your photography game in order to attract your ideal customer?
They say that we buy with our eyes first. If that is the case, then it is important for handmade businesses to create photos that draw in your ideal customer who want to learn more about your unique products.
I can help you with that! Read on for 5 photography tips every handmade business needs to know.
1 | WHITE BACKGROUNDS MAY NOT BE BEST
Shooting your products on a white background is pretty much the industry standard. It's what all the big online retailers are using when they shoot their simple product photos. But you need to focus on what's best for your products.
White backgrounds are great for products that are dark or colorful so they are well contrasted. If your products have light or white colors, they will just disappear into the white background. In those instances, opt to use a gray or colored background to make your products pop.
2 | IT'S OK TO MIX ARTIFICIAL LIGHT WITH NATURAL LIGHT
Natural light is beautiful and it's what I shoot with 99% of the time. But the downside of natural light is that it's inconstant. It hides behind clouds and rain and then tucks itself away at night.
That's why we need artificial light from time to time. Use of natural light or artificial light doesn't have to be exclusive. They can work together like friends. The other great advantage to artificial light is that it can be directional, which is super helpful for making those dark spots come alive.
3 | WHITE BALANCE IS IMPORTANT
A key indication of amateur photography is poor white balance. If your photos have a yellow or blue cast on them, this is considered poor white balance. The whites in your photos need to be as close to true white as possible, such as the background of this blog. This will help get all the other colors in your photos to be accurate also.
There are 3 ways to achieve perfect white balance:
- Shoot in natural light, except at the golden hours (in the early morning just after sunrise or in the evening before sunset). Usually, the hours between 10AM - 3PM are perfect for capturing that perfect white balance.
If shooting with artificial light, shoot with daylight bulbs. These will get you as near white a light as possible.
- Set your camera to AWB (auto white balance) to achieve the best white balance in your photos.
- When all else fails in the camera, adjust your white balance in a photo editing program, like Photoshop or Lightroom. Lots of mobile apps also have this white balance tool. I like to use Snapseed to edit my phone photos.
4 | KEEP YOUR PHOTOS CONSISTENT
The art of a consistent shop appearance stems from branding. If you don't know what your company brand is, you should figure that out before you shoot any more photos.
Do you know why branding is important? It helps to define your company values, your voice and your ideal customer. Getting that all sorted out will help you determine your aesthetic, which leads to how you'll get your product photos styled and edited consistently.
If you're feeling like your product photos aren't showing enough consistency, ask yourself if you are able to concisely sum up your company brand. If you can't, then go back and build the foundation first. If you can sum it up, then make sure your photos are consistently reflecting your brand in your use of props, the colors you choose, the style in which you lay out your composition and in your editing workflow.
5 | REDUCE GLARE BY SHOOTING UNDEREXPOSED
It's long been a trend to feature photos that are slightly overexposed. The images are overall very bright and the whites are gleaming. You might be inclined to increase your exposure levels on your camera to get this photo, but doing this also means the information in your photo gets lost when overexposed.
When you shoot overexposed, you might have noticed that your reflective surfaces reflect too much glare. Instead of your jewelry looking silver, they look white. Your surfaces are washed out, making the material unrecognizable.
To minimize glare, you need to shoot underexposed, and then increase the exposure levels in post-editing. This helps to save the information in the image. If you shot overexposed to begin with, all the information is lost because everything is too white and there's nothing for the camera to recover.
Take your product photography to the next level.

The Lifestyled Product | Creative Product Photography For Makers is an eBook full of creative ideas on how to style and photograph your handmade products using inexpensive camera equipment and props.
- Over 120 pages of styling tips and tricks specifically for handmade products.
- Creative ideas for every handmade niche.
- Printable photo shoot preparation checklists
- Interactive PDF format