How To Style A Traditional Flat Lay
/
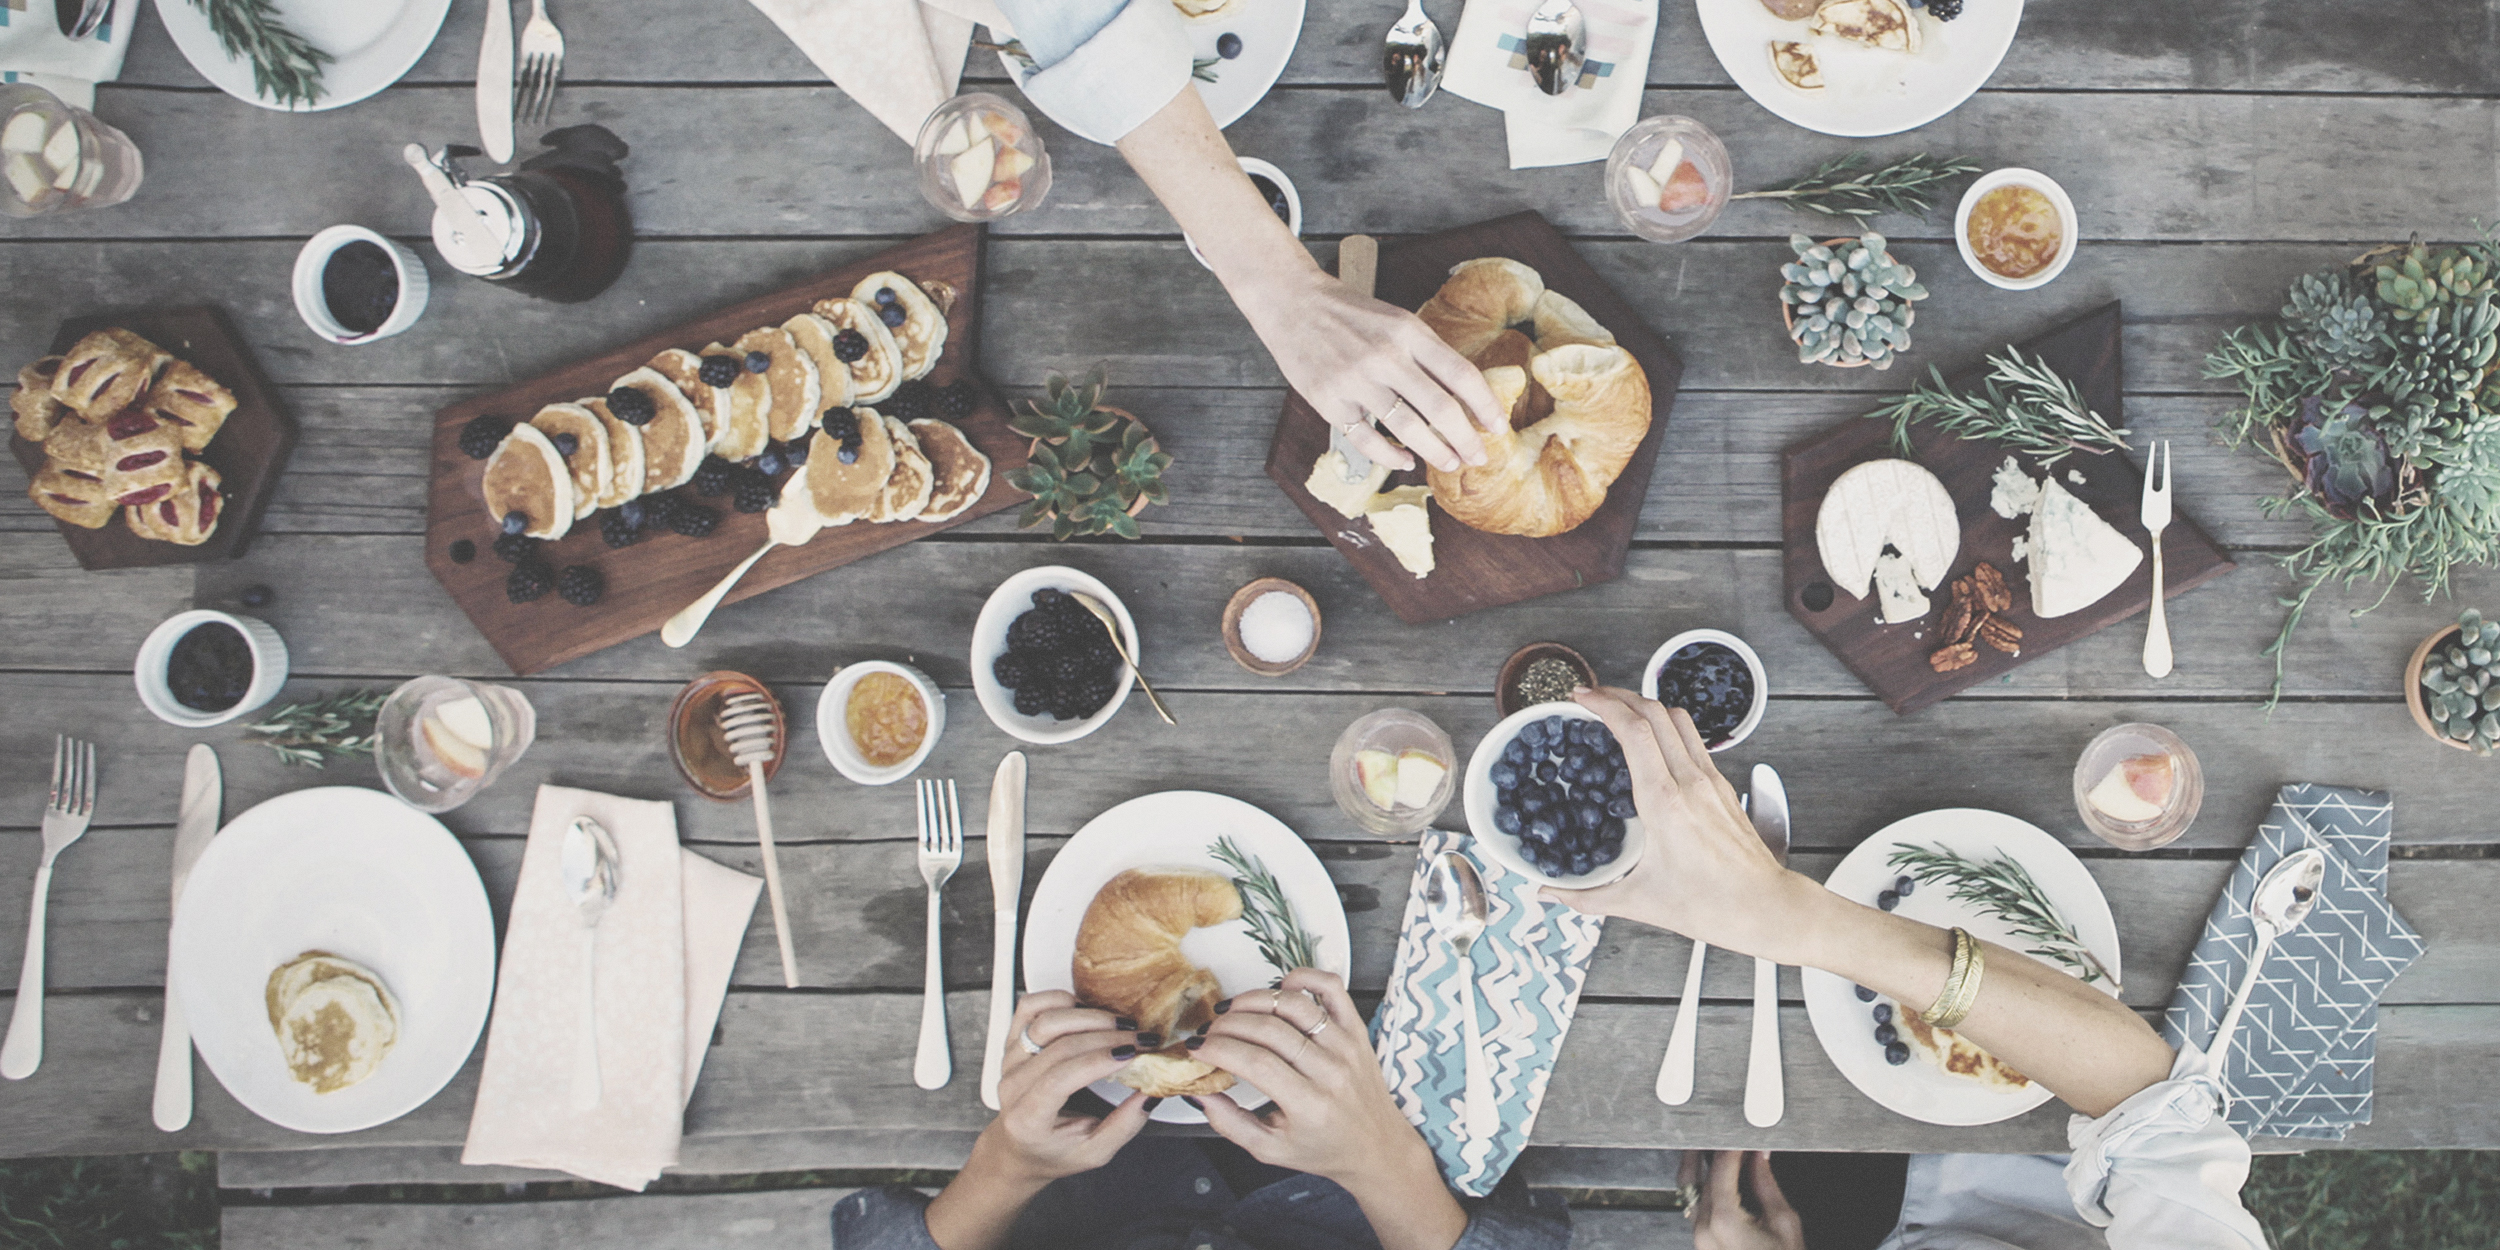
Flat lays are taking over Instagram. If you're an avid user, you know what I'm talking about. If you're not, then you'll have a good idea of what a flat lay is after you read this post. Then, like most things you're introduced to, you won't stop seeing them all around you.
Firstly, a definition for those who aren't familiar with flat lays. It is a form of photo styling in which the camera photographs objects from above. Usually, objects are laid on their sides so you can see the entire form, whether it is the label of a jar or the side of a toy.
There are two main styles of flat lays: traditional, which is what I will cover in today's post, and lifestyle, which I will cover in a future post.
A traditional flat lay is where all objects are placed at right angles in a grid format. I also like to call it an organized flat lay because everything looks so orderly. Have a look at this video I made that quickly shows how I put together a traditional flat lay. Then I'll break down my process afterward.

The process

Steps 1-2

step 4

step 3
steps 5-7
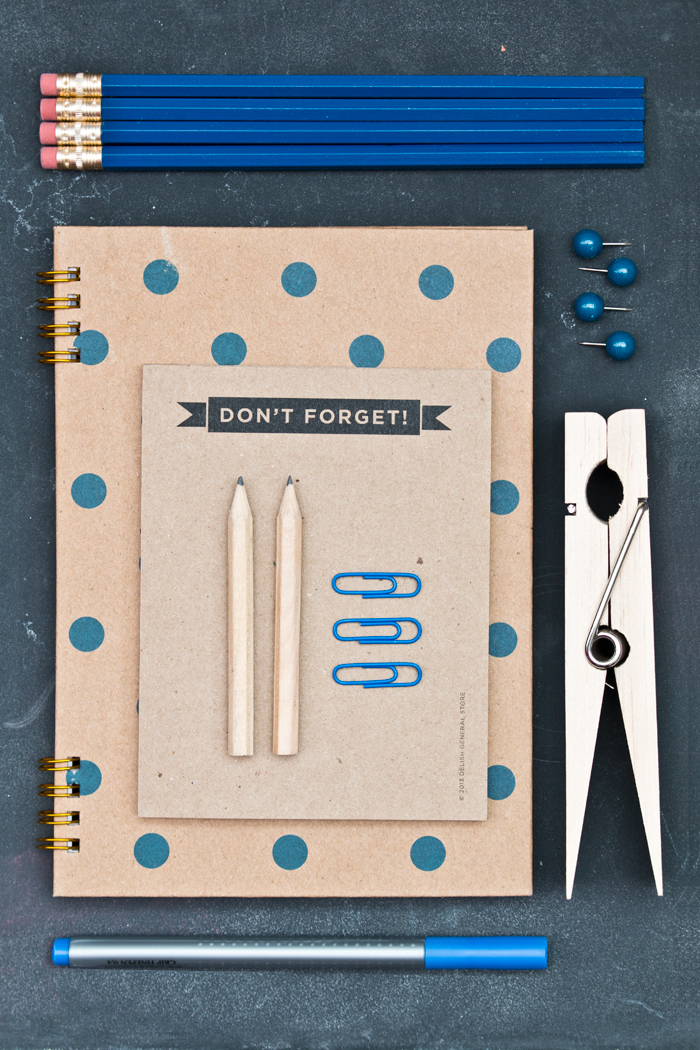
- Start with a hero object, or an object that will be the main focus. This can also be the object that anchors the whole layout. The hero object in my example is the polka dot notebook.
- The next object should support the hero object. I usually place something that is the next size down. In my example flatlay, it is the large clothespin - slash - giant ass paperclip.
- Working down in size, I then added the group of blue pencils. Notice how I've lined up the pencils to the left side of the notebook. I've also taken the time to make sure all the pencils are faced on the same sides thereby creating a unified blue color blocking at the top of the layout.
- I filled in the tiny space between the blue pencils and clothespin with blue thumb tacks. This could have been filled with anything small. Thumb tacks were what I had on hand. Notice again how I've lined up the tacks to the right of the clothespin. Now I've created a frame by blocking out the objects in "squares".
- To provide depth to the flat lay, I added a notepad, more pencils and paper clips on top of the notebook. The paper clips were intentionally placed in the center of the flat lay to balance out the colors. Imagine if the paper clips were placed on the left side of the notepad. This flat lay would feel very heavy on the left, wouldn't it?
- Then I stepped back to look over the whole flat lay. I felt the colors were too top heavy, so I added a blue pen below the notebook just to balance out the colors better.
- After all the objects were placed accordingly and to my satisfaction, I spent a bit of time to nudge objects so they lined up nicely along the imaginary gridlines.

I'll share with you the next part of my flat lay series, which is the lifestyle flat lay, in a few weeks. You won't want to miss that one!
I made a video detailing the entire process of the traditional flat lay. Subscribe below to get the link.
Subscribe to the monthly newsletter and
get FREE access to The Stylist Vault!

RELATED POSTS: