How To Be A Resourceful Prop Stylist
/
I don't think I've ever had a client who wanted me to unnecessarily spend more of their money. When I worked as an interior designer, I often came up against budget restrictions. The problem was that everyone wanted champagne on a beer budget. This only challenged me to think outside the box to get the look my client wanted without needing to spend a lot of money. As a result, I often had to shop in unlikely locations, find new vendors, get pieces custom-made and use more economical materials.
This training really came in handy when I transitioned to photo styling. Finding "the perfect" prop when it can't be found anywhere in the stores (hello, Christmas shoot in July, anyone?) is a huge obstacle in itself. But add that onto the fact that clients just don't want to shell out a ton of cash on objects that will only be used for an hour makes my job all the more challenging.
The biggest tip I can offer for anyone who wants to be a resourceful prop stylist is to plan ahead. To be resourceful, you have to have the right tools and props at the right time without costing a fortune. Today, I've got a handful of tips on how you can plan ahead so you can be a resourceful prop stylist. That way, next time someone wants to do a Christmas photo shoot in July, you'll be more than ready. AND... you'll be on budget!

HERB ARRANGEMENT FROM MY GARDEN
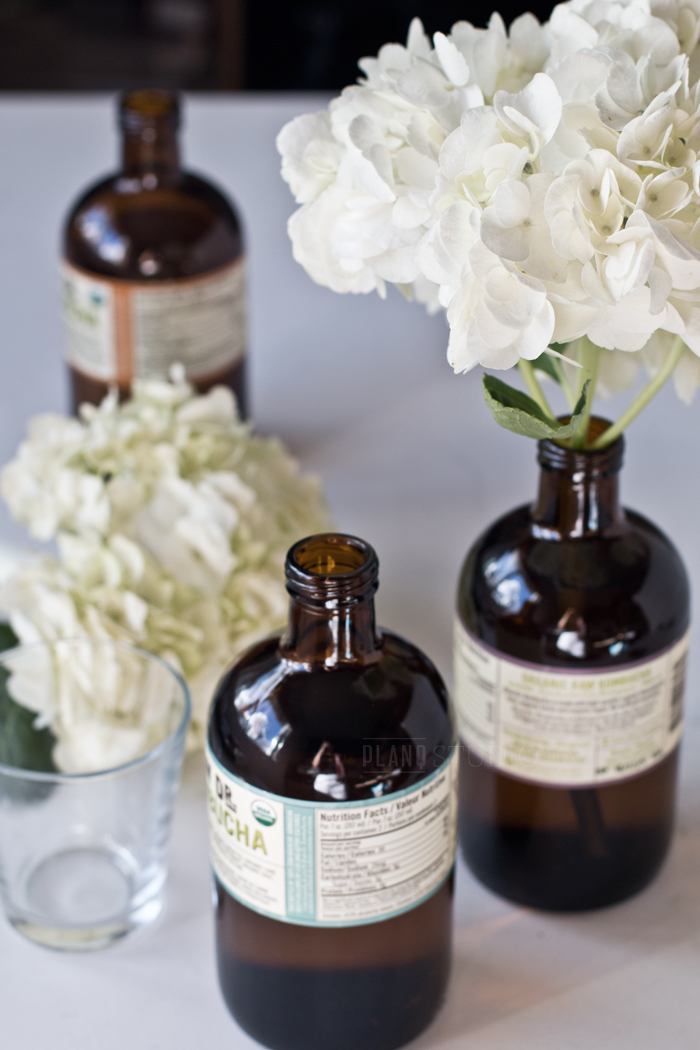
BOTTLES RESCUED FROM THE TRASH

SAVE YOUR GIFT WRAP & EMBELLISHMENTS

DIY BACKGROUND
1 | SAVE YOUR TRASH
There are so many things I've saved from the landfill by repurposing them as photo props and styling tools. I love this tip the most because I get to help the planet and my monthly studio budget!
Let me tell you. My a$$ has been saved more than a few times by having these items on hand. You just never know when one of these trashy treasures will be the finishing touch needed to make the photo. Just a few things I've rescued from the trash:
- Aluminum food cans
- Mason jars and other glass food jars
- Gift wrapping (paper, bags, ribbons, etc)
- Tissue paper from the shops
- Old newspapers (could make great backgrounds!)
- Brown kraft paper from mailed packages
What other items do you save from the trash to use as photo props or tools?
2 | SHOP THE SALES ALL YEAR ROUND
Carrying out this tip will require you to have some real estate set aside for out of season props, but it has helped me vastly to be prepared. You know that Christmas photo shoot in July I mentioned at the top of this post? Imagine hunting for Christmas lights or ornaments in the summer! Trust me. It's not easy, if not non-existent.
I don't mind keeping out of season props in my library if not just to take the stress out of shopping when the time comes. I mean, they're gonna get used sooner or later, right?
3 | GROW YOUR OWN PROPS
I fell in love with gardening a few years ago. It started as a desire to grow food for my family, but I soon realized what a gold mine I had in photo props when I saw all the beautiful colors and shapes my vegetables bloomed into.
You know those microgreens that are severely expensive at the grocery store? You can grow the same for pennies with some lettuce seeds. And, those lettuce seeds are ready to be microgreen props within 7-10 days. Just pick them off when they're still small. They grow so fast that you can plant a whole new batch right away!
Did I just blow your mind?
4 | MAKE YOUR OWN PROPS
I have a secret. I hate shopping. OK, wait, let me clarify. I love window shopping and casually buying things that look interesting, but force me to look for a dress in an exact shade of Tiffany blue under $50 (when it's in the middle of winter) for a photo shoot in 2 weeks? I break out in hives.
It's too stressful!!!
Thankfully, I don't get presented with these challenges very often. Well, not anymore. (I used to deal with this a lot more when I was an interior designer.) To save my sanity and high blood pressure, I skip the shops and DIY it. If I can't find it, I'll make it.
DIY doesn't have to be some arduous process. Sometimes it's a quick paint job. Other times it's a five minute hemming job with an iron and fusible tape. Don't be afraid to get your hands dirty when there is a prop you need, but can't find.
- Some DIY photo props to try:
How To Make A No Sew Bunting
How To Make A Barn Board Background
How To Make A Flower Crown
5 | SEE THINGS FOR WHAT THEY COULD BE
The final tip I have for you is to start opening your eyes to the possibilities. The beauty of photo styling is the smoke and mirrors aspect of it. Props do not actually have to function - they just need to look good on camera.
So ask yourself: How can this object serve a different purpose? Can this item achieve the look I need if propped on its end instead of laid flat? Here are a few ideas to open your mind:
- Use a roll of tape as a riser
- Transform a plain book with colorful wrapping paper
- Use a bracelet as a napkin ring
- Turn a picture frame into a decorative tray
- Out of sugar? Use salt instead.
- Get more repurposed ideas in Behind The Scenes | Interior Styling Of A Blue Bedroom